Segmentation allows you to classify your requests into custom segments in order to obtain statistics about your activity and revenue based on your clients’ typology.
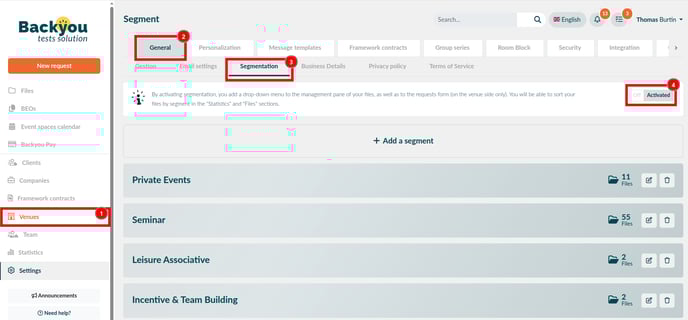
You can enable and customize segmentation from Settings > General > Segmentation:
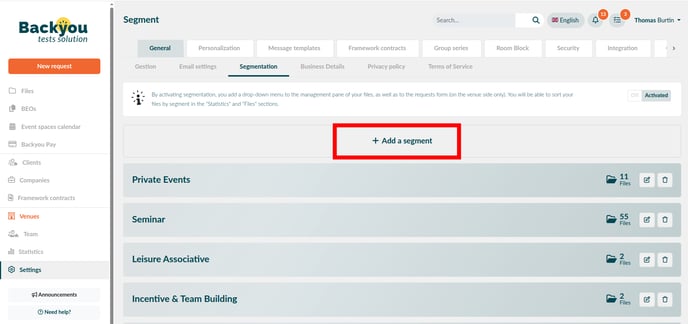
You can then create your segments:
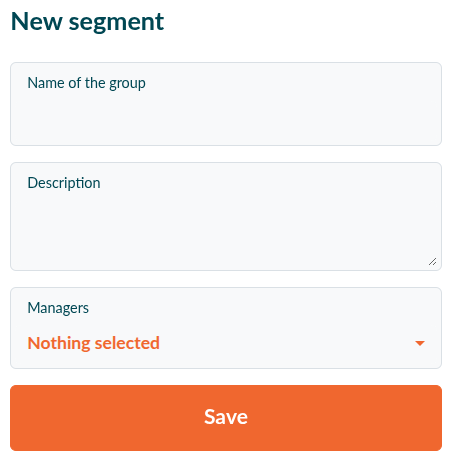
When creating a segment, you can enter three pieces of information:
-
The group name, which will allow you to identify the segment in the list of segments (mandatory)
-
The description, where you can add details about the groups that should be assigned to this segment (optional)
-
The managers, who will be auto-assigned to the files associated with this segment (optional, and auto-assignment must be enabled [here])
Once all your segments are created, you can assign default segments to your clients and to your companies. For example, if a proposal request is created by a client whose default segment is “Corporate,” the resulting file will automatically be categorized under the “Corporate” segment.
-
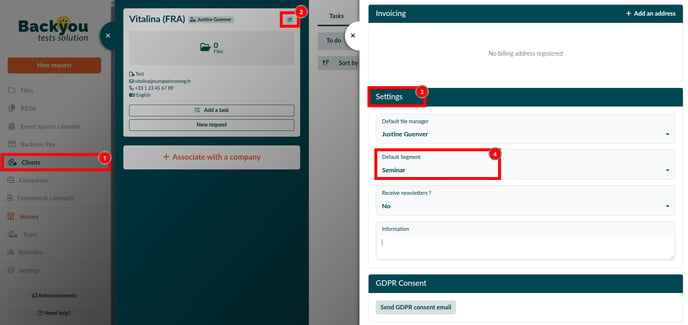
To assign a default segment to a client, go to Clients > Select a client file > Edit icon > Settings section > Default segment dropdown menu:
-
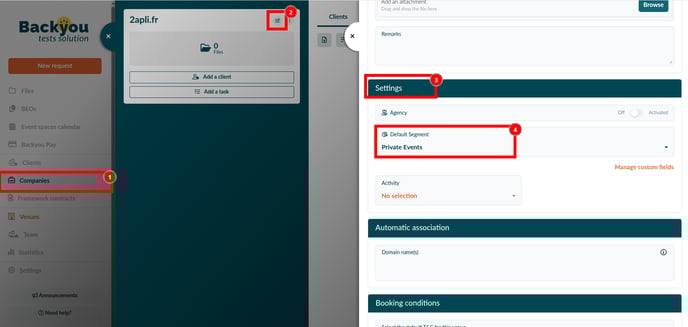
To assign a default segment to a company, go to Companies > Select a company file > Edit icon > Settings section > Default segment dropdown menu:
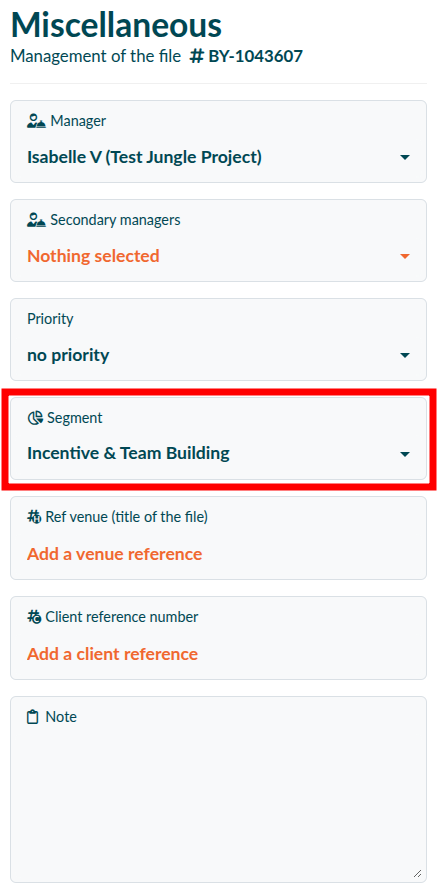
You can then assign a segment to your files from the Edit icon:
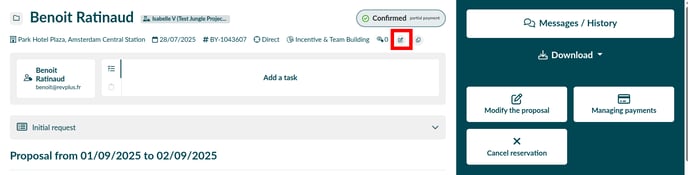
From there, you will be able to select the corresponding segment for the file from the segment list.
⚠️ Whatever change you make (file, client file, company file, settings), don’t forget to save your modifications by clicking the Save button. If the change does not appear immediately, refresh your browser page to see it applied.